The Flooring Expert
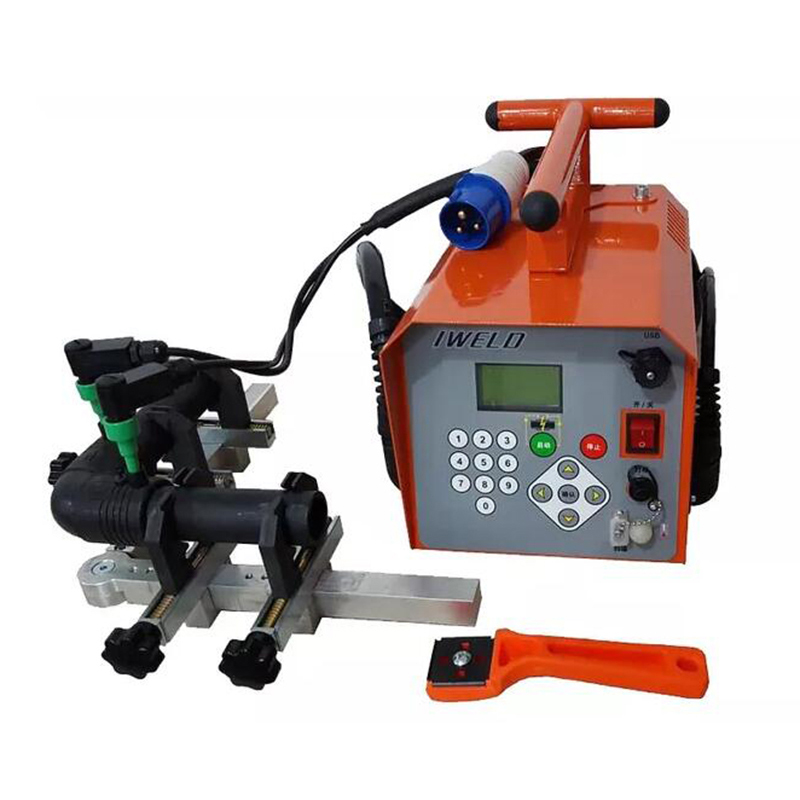
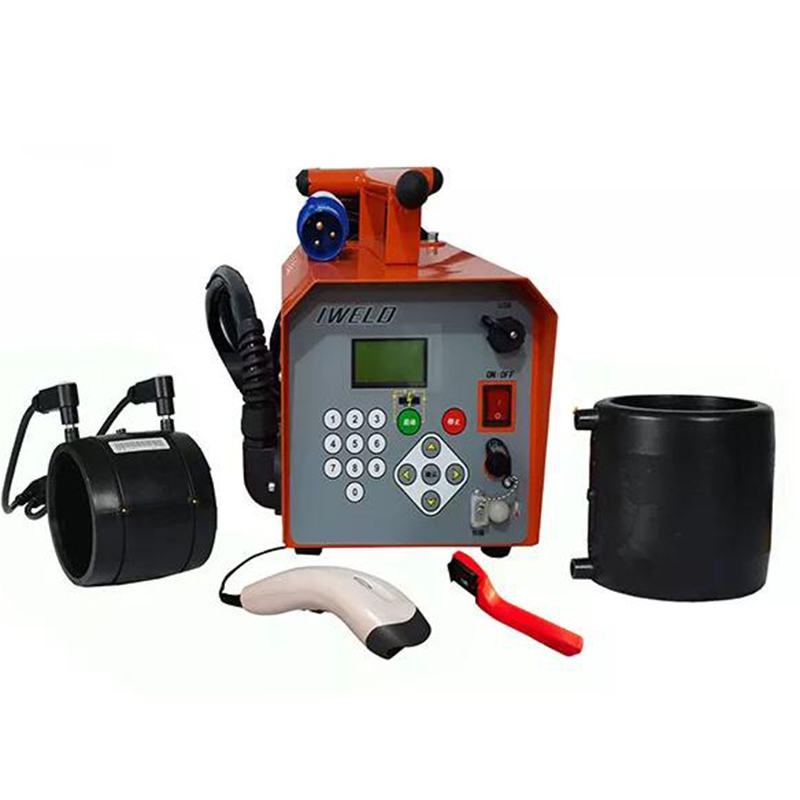
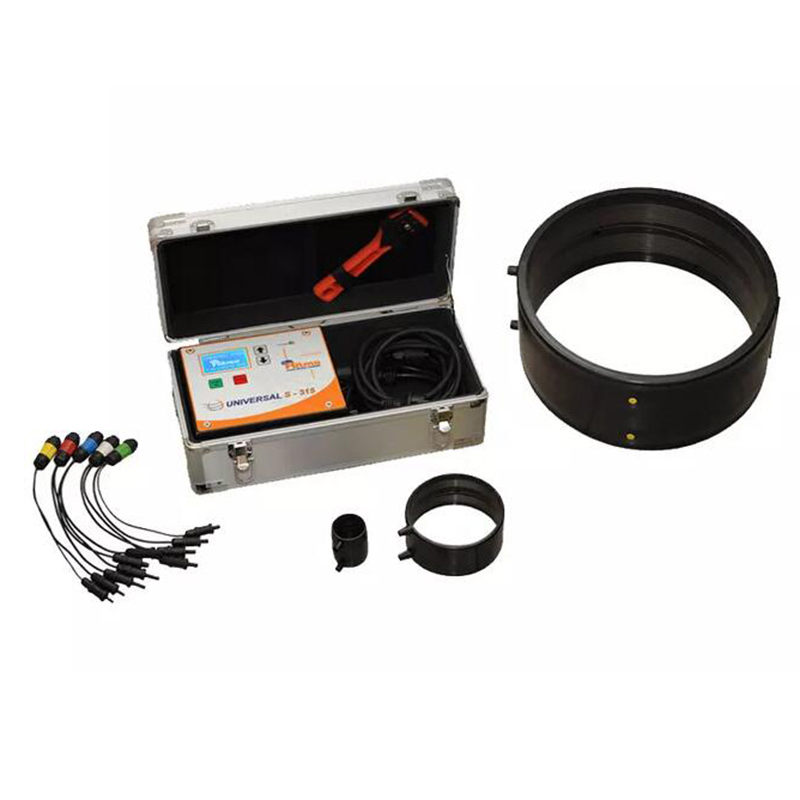
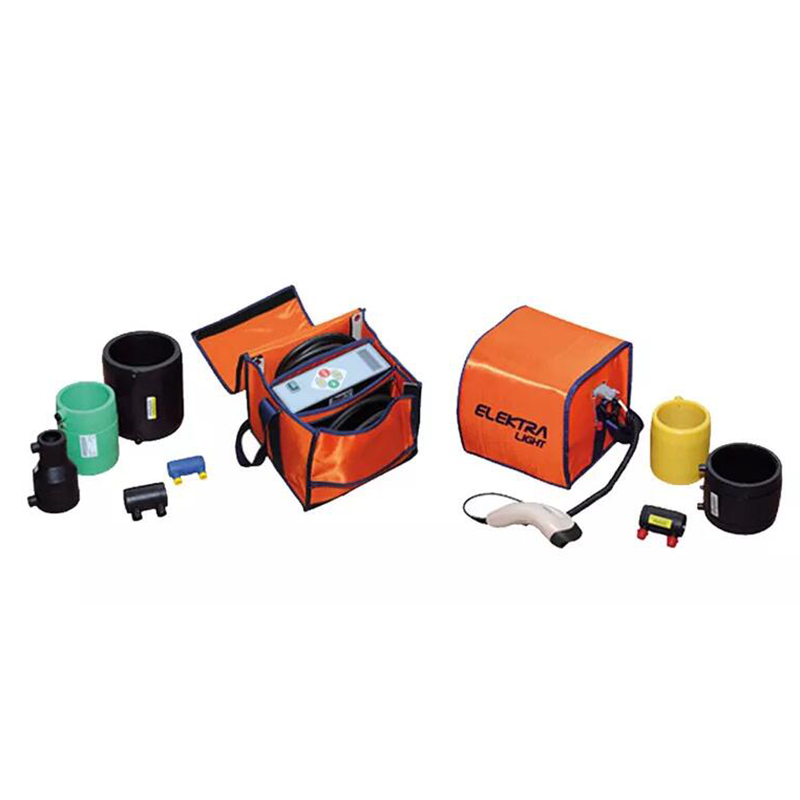
20-800mm HDPE Pipe Fittings Plastic Electrofusion Welding Machine 2700W CE Approved
Detail Information
| 3500W | 20-800mm |
| Pipe Fittings Electrofusion | Free Spare Parts, Field Installation, Commissioning And Training, Field Maintenance And Repair Service, Online Support, Video Technical Support |
| 1 Year | Electrofusion Machine |
Product Description
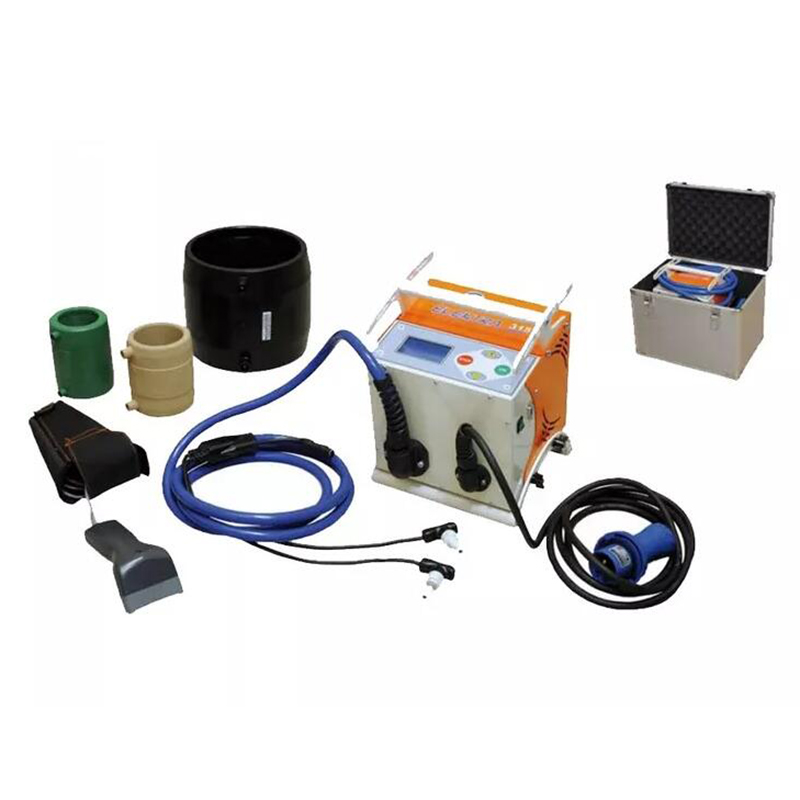
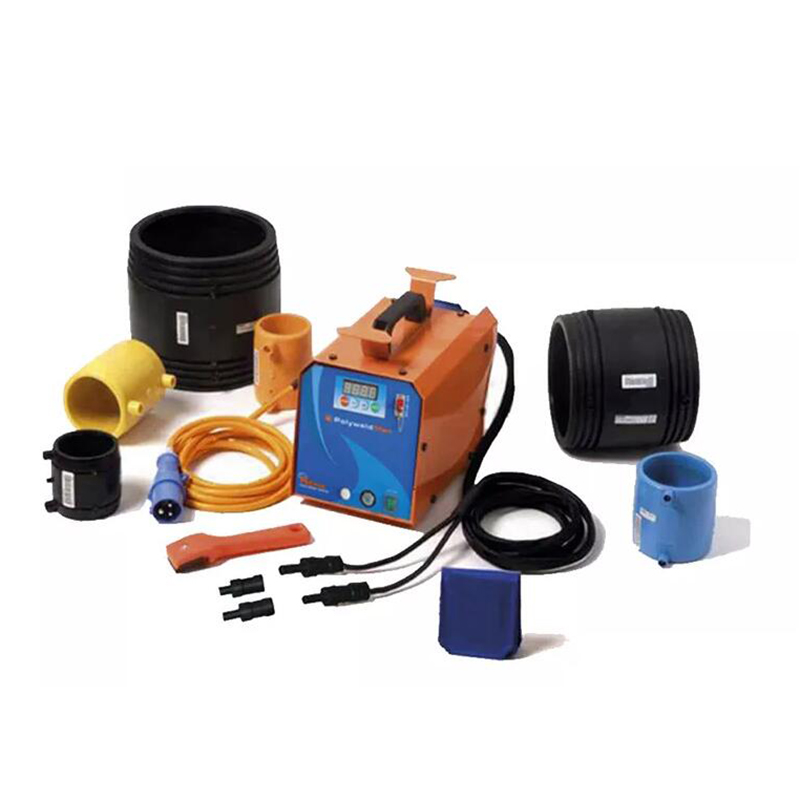
ZDRJ is a Multipurpose Electrofusion Machine (in low voltage 8¸48V) capable of fusing any brand of coupler available in the market, up to 400mm for version400 and up to 800mm for version.
Machine automatically sets correct fusion parameters by Optical Pen reading or manual introduction of Bar Code visible on the couplers (according to ISO13950 ). In case couplers do not show bar code, it is possible to manually introduce Tension and Fusion Time recommended by manufacturer.
ZDRJ has an internal memory for storage of fusion parameters (parameters used, couplers features, etc… ). It is also possible to print out Fusion Data and download them to a PC.
Specification
|
Model |
160 |
315 |
400 |
630 |
800 |
|
|
Working Range |
20-160mm |
20-315mm |
20-400mm |
20-630mm |
20-800mm |
|
|
Materials |
PE/PP/PPR |
|||||
|
Dimendions mm |
200*250*210 |
358*285*302 |
358*285*302 |
358*285*302 |
358*285*302 |
|
|
Weight |
7Kg |
21kg |
23Kg |
23kg |
23kg |
|
|
Rated voltage |
220VAC-50/60Hz |
|||||
|
Rated power |
1300W |
2700W |
3100W |
3100W |
3500W |
|
|
Working power |
-10℃-40℃ |
|||||
|
Output voltage |
8-48V |
|||||
|
Max.output current |
60A |
80A |
100A |
100A |
100A |
|
|
Protection degree |
IP54 |
|||||
|
Connectors |
4.7mm/4.0mm |
|||||
|
Memory |
325 |
4000 |
4000 |
4000 |
4000 |
|
* Working range might vary according to fittings band. Check with the fitting manufacturer the power and the welding time required.
* Power at 60% Duty Cycle.
Fusion Procedures
Quality of joint depends on the following instructions which have be followed carefully.
HANDLING OF PIPES & FITTINGS
When fusing, temperature of pipes & fittings have to be similar to ambient temperature measured by machine’s probe.
Therefore they cannot be exposed to strong wind or direct sunlight : their temperature may vary consistently from ambient temperature, affecting negatively fusion (pipe & fittings insufficient or excessive fusion). In case of high temperature, keep pipe & fittings away from direct sunlight and wait until their temperature is similar to ambient temperature.
PREPARATION
Cut pipe’s edges straight, using special pipe cutters. Carefully try to eliminate pipe’s and fittings bends or ovalizations.
CLEANING
Carefully scrape oxidized layers on pipe’s or fitting’s edges with special pipe scrapers. Make sure scraping is uniform and complete over surfaces to be fused exceeding the middle of the fitting of about 1 cm; lack of this type of operation causes a superficial fusion only, since it prevents molecular interpenetration of parts and affects fusion’s result. Scraping methods like sand paper, emery wheel must be avoided.
Take out coupler from its protecting packaging, clean the interior according to manufacturer’s instructions.
POSITIONING
Insert pipe’s edges into the coupler.
It is necessary to use an aligner for:
- making sure parts are steady during fusion and cooling phase;
- avoid any sort of mechanical stress on the joint during fusion cycle and cooling;
FUSION
Fusion area should be protected from strong weather conditions , such as humidity, temperatures lower that -10°C or over +40°C, strong wind, direct sunlight.
Pipes & fittings used have to be of the same material or compatible material. Compatibility between materials have to be guaranteed by manufactured.
COOLING
Cooling time depends on diameter of coupler and ambient temperature. It is important to follow times given by manufacturer of couplers used.
To avoid mechanical stress on the joint (bending, tractions, twisting) disconnect cables and aligners only when joint has completely cooled down.
FUSION TRACEABILITY
Before fusion procedure it is necessary to decide whether you want to use machine’s bar code reading
system of pipe/fittings in order to have complete traceability of fusion completed. Fusion data will be
stored in machine’s memory and can be printed or downloaded.
Scroll main menu until arriving to
SETUP AND UTILITIES.
Press ENTER to access next step.
Select“Traceability”using keys C (ÙÚ).
Press ENTER
Press keys C (× Ø) to activate or deactivate traceability.
Press ENTER to save settings and go back to menu.
Press STOP to go back to main menu.
Products categories
WHY CHOOSE US
Since its establishment, our factory has been developing first world class products with adhering the principle
of quality first. Our products have gained excellent reputation in the industry and valuabletrusty among new and old customers..
