The Flooring Expert
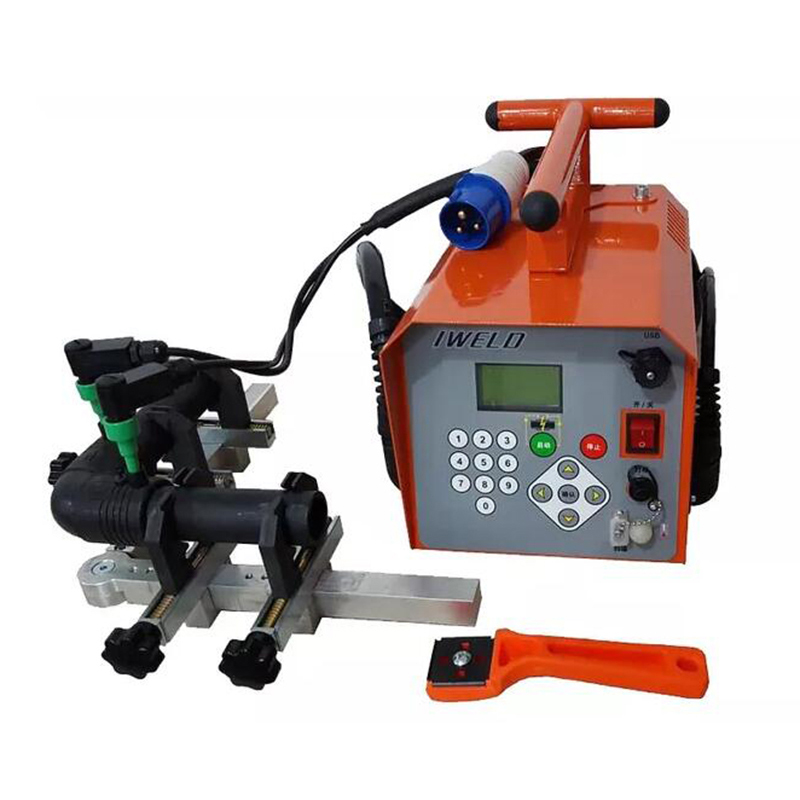
315 pipe Electrical Welding Machine , HDPE Pipe Jointing Machine
Detail Information
| Akatherm-Euro, Geberit,Valsir,Coes,Waviduo | -5℃-40℃ |
| Eletronic | IP 54 |
| Elektra-315 | China Main Port |
Product Description
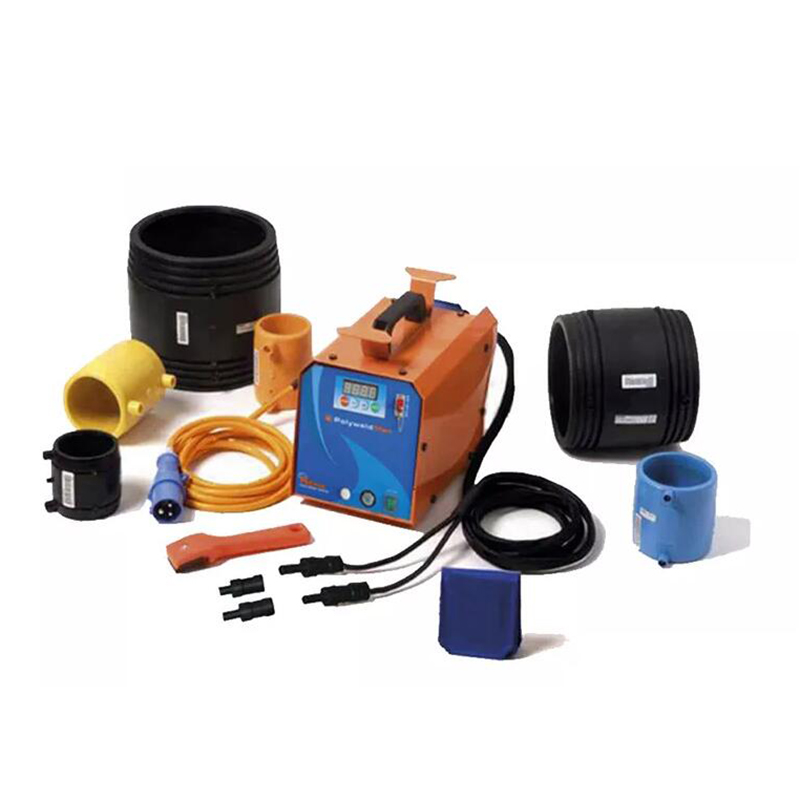
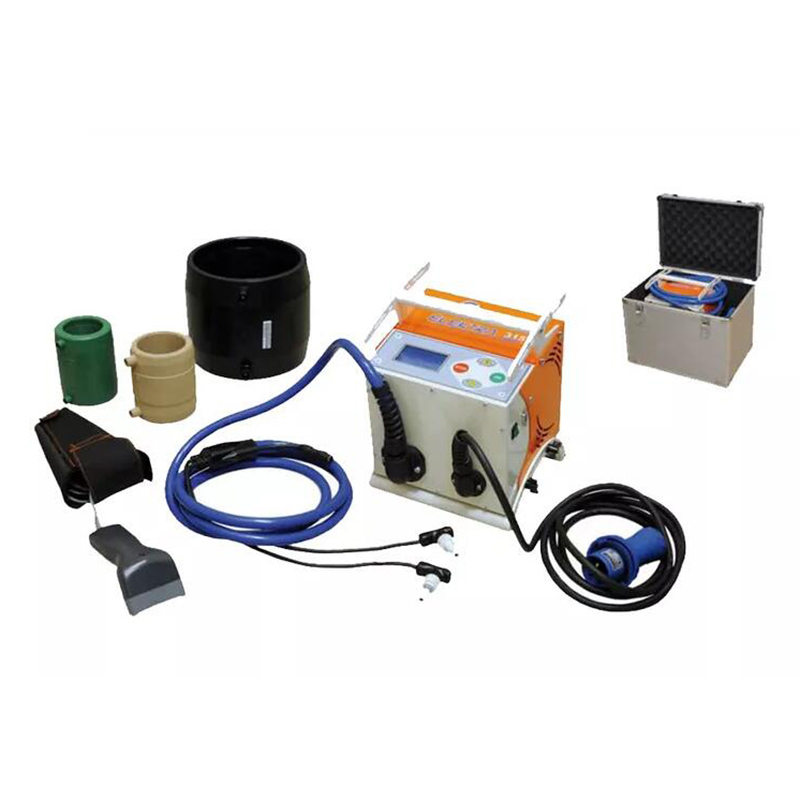
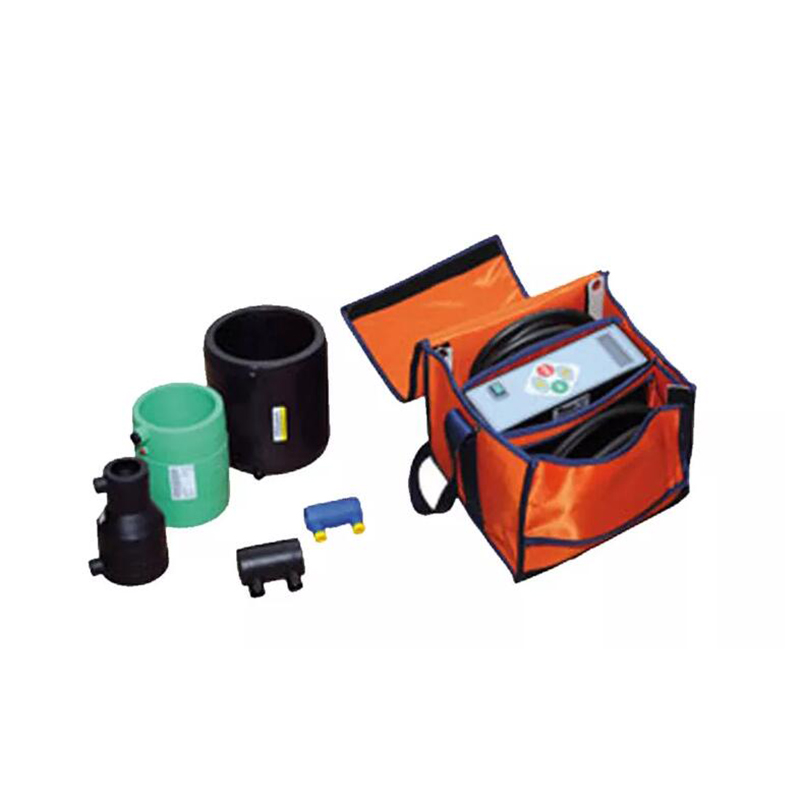
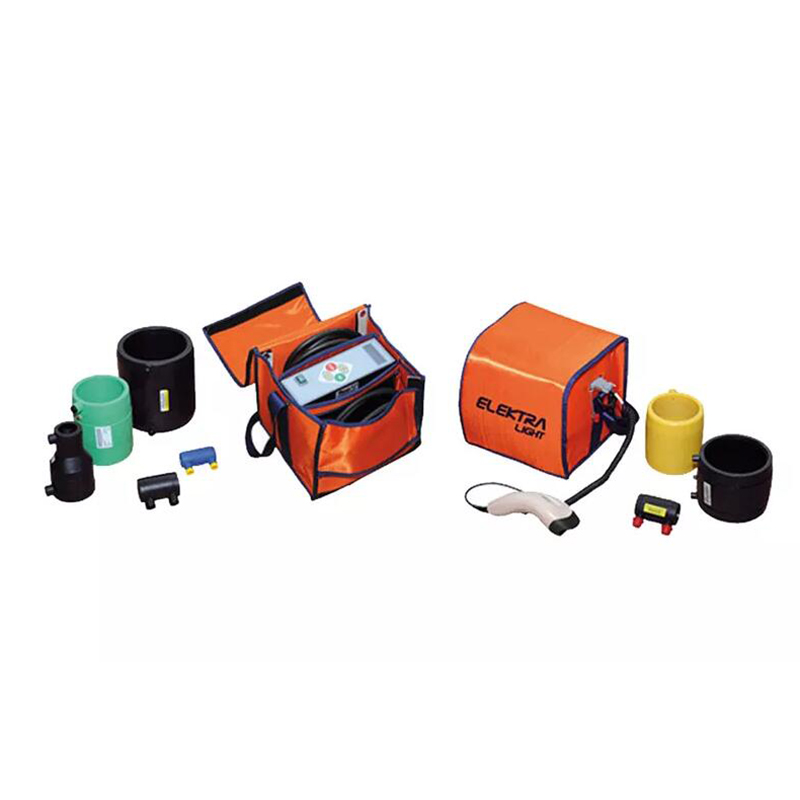
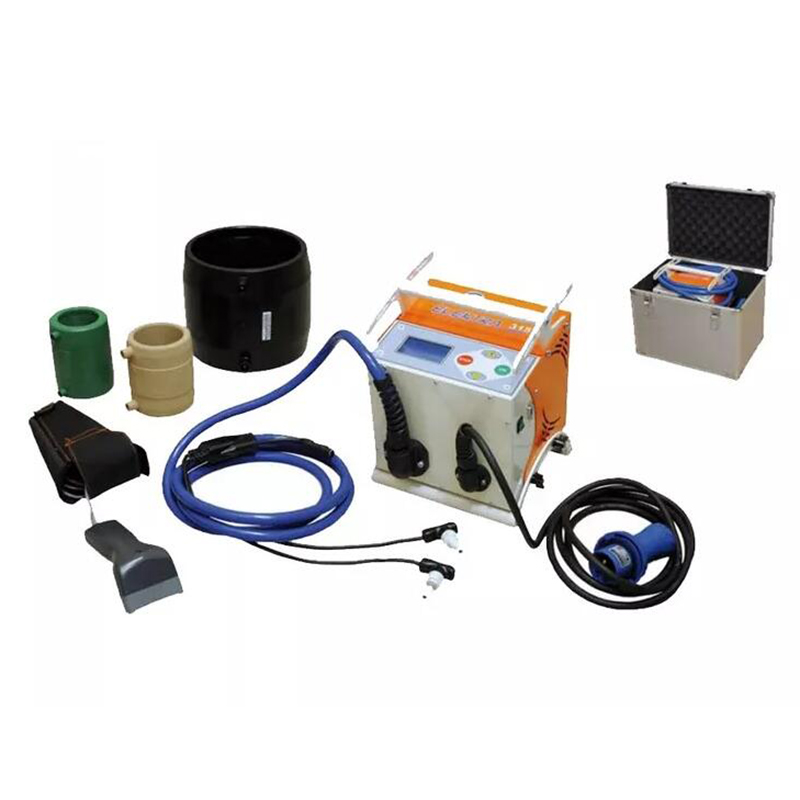
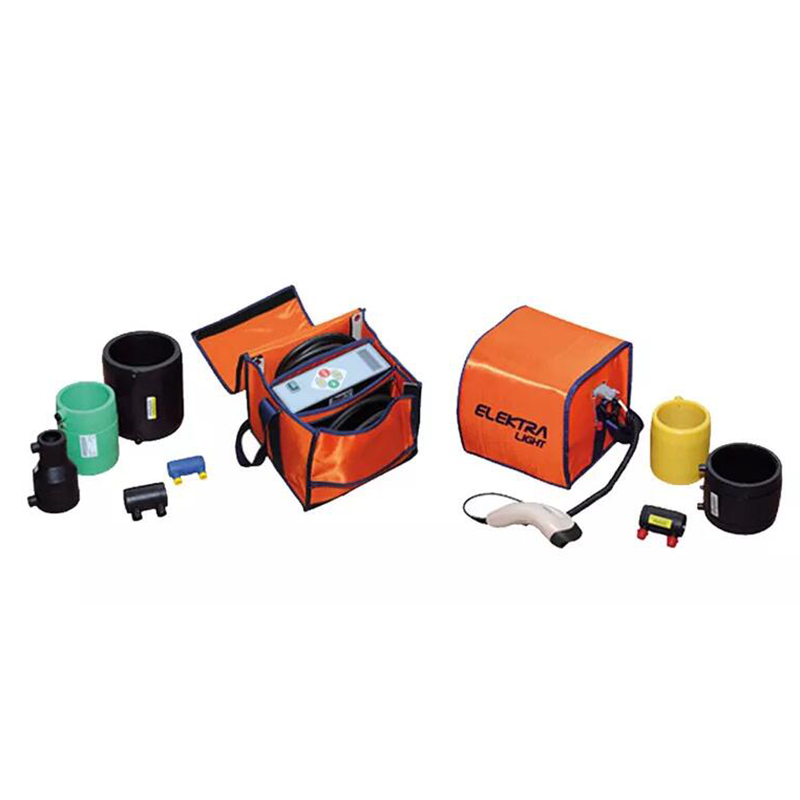
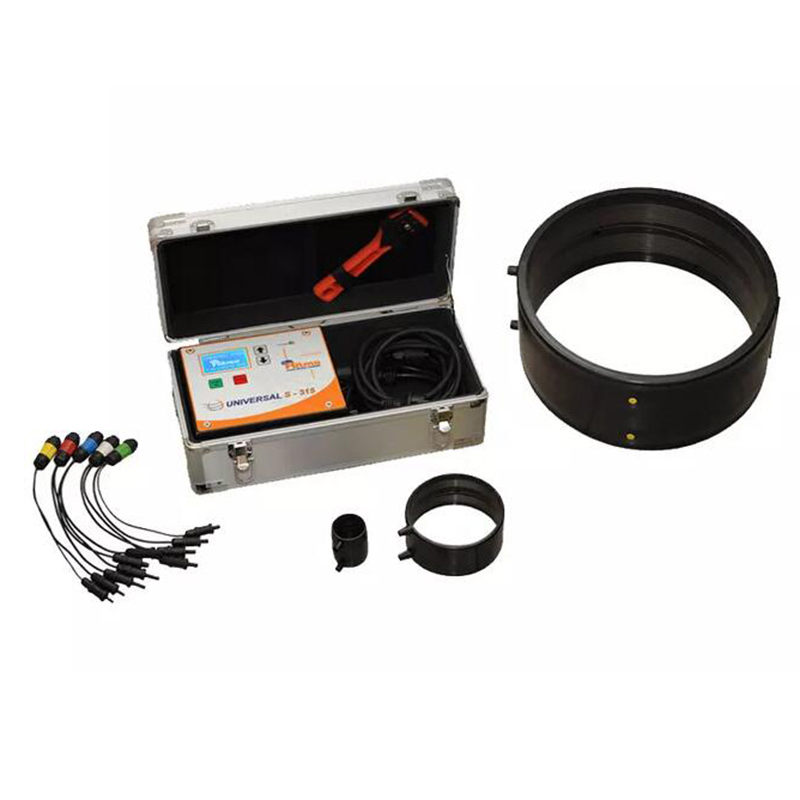
Elektra 315 electrical welding machine hdpe pipe jointing machine
ELEKTRA 315 is an universal electrofusion machine,suitable for welding pipe/fittings for the transport of gas, water and for welding fire sprinkler system (HDPE,PP,PP-R,couplings for 8 to 48 V).The Elektra 315 machine is made in compliance with international standard. Composed of:machine body and carring case,intuitive control panel an in built memory with 500 welding cycles,featuring the possiblity of transferring data to a Pc/Laptop and an laser scanner-barcode reading system that allows the automatic setting of the welding parameters.Report in PDF file.
Stand composition:
-Universal
-Laser scanner
-Pen Drive
-Manual scraper
On request:
-Software Ritmo Transger
-Adapter DB9M-USB
Technical Features
| Working range | 20-315mm:1/2″ IPS-10″ DIPS |
| Materials | HDPE,PP,PP-R |
| Power supply | 110/230V Sihgle Phase 50/60 Hz |
| Absorbed power | 2600W |
| Max.output curent | 100A |
| 60% Duty Cycle output | 60A |
| Memory capacity | 500 report |
| Protection degree | IP 54 |
| Weight machine body | ~16 kg (35.5lb) |
| Dimensions machine body | 263×240×300mm;10.3″×9.4″×1.8″ |
| Dimensions transport case | 405×285×340mm; 16″×11.2″×13.4″ |
| Languages | 21 |
| Suggested power generator for full welding range | 5.5-6 kVA |
Performing a weld
Language selection:
Keep pressed at the same time the buttons + and OK and switch the welding machine on.
Release the buttons and input the number correspondent to the desired language using the buttons +/- (00= ITALIAN, 01=ENGLISH, 02=SPANISH and 03=CHINESE).
Press the button STOP to exit.
Restart the machine in order to activate the new commands.
Before starting welding it is necessary to check general status of welder, welding cables and their terminals. In case they are damaged, it is necessary to substitute them. Electrical cable must be completely unwounded and connected to power outlet. After having pressed starting switch, on the lower part of welder, display will turn on and ambient temperature will appear in °C. We remind you that according to ambient temperature, if this is different from reference temperature ( 20 °C), operator will have to correct welding time as indicated by manufacturer of electrical coupler.
By pressing key + or – you will introduce value of welding time in seconds. When confirming value with key OK voltage value will appear ( U ) from a minimum of 8 V to be increased with key +.
By confirming value set with key OK welding cycle will start, while welding time is displayed and decreasing until reaching zero.
When welding is over an acoustic signal will start indicating end of procedure. If printer is connected to special connector, printing will start during which message “PRN” is displayed to indicate printing phase. If, on the contrary, printer is not connected or it is off a serie of hyphens alternating with “PRN” message is displayed.
By pressing a key you will be brought to initial datum, which is ambient temperature omitting the printing of the weld performed and loosing it permanently.
In case of anomalies during welding cycle, a numeric code from 1 to 20 is displayed. To each number correspond a specific cause of the alarm that has caused the interruption of the weld. If the printer is connected and on it will start printing code of the error, otherwise on display will be showed error code alternate to message “PRN”.
To reset error, press key STOP. Alarm is stopped and welder shows again ambient temperature.
COUPLER’S PREPARATION
Clean and scrape pipe end to be fused.
FUSION BY BAR CODE READING
Place pipe/fittings on special aligners.
Place machine’s fusion connectors 3 in the coupler.
Products categories
WHY CHOOSE US
Since its establishment, our factory has been developing first world class products with adhering the principle
of quality first. Our products have gained excellent reputation in the industry and valuabletrusty among new and old customers..
